개발환경: Windows10, VS Code
지난 포스팅에 이어서 진행한다.
fontend 작업
1. frontend 프로젝트를 열고, config/index.js 파일을 열어서 proxyTable을 설정한다.
proxyTable: {
'/api': {
target: 'http://localhost:3000/api',
changeOrigin: true,
pathRewrite: {
'^/api': ''
}
}
}
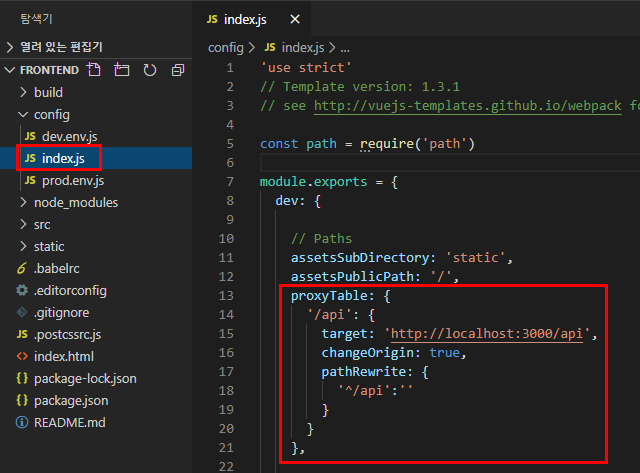
http 통신을 간편하게 하기 위한 것으로
프론트엔드에서 '/api' 주소로 요청 발생시 'http://localhost:3000/api' 주소로 요청을 보낸다.
이 설정을 하지 않으면 http 요청시마다 'http://localhost:3000/api' 주소를 일일이 넣어주어야 한다.
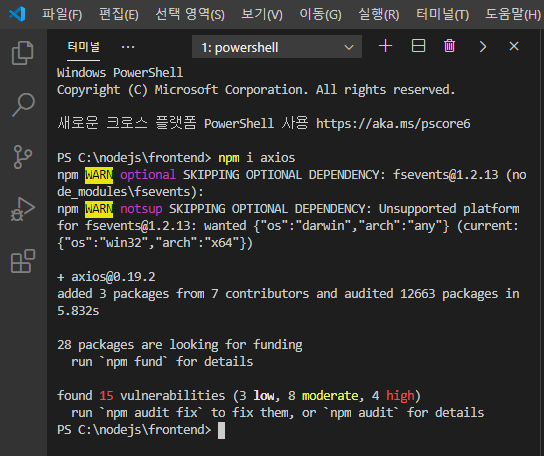
3. 터미널을 열고 (http 통신을 위한) axios 모듈을 설치한다.
> npm i axios
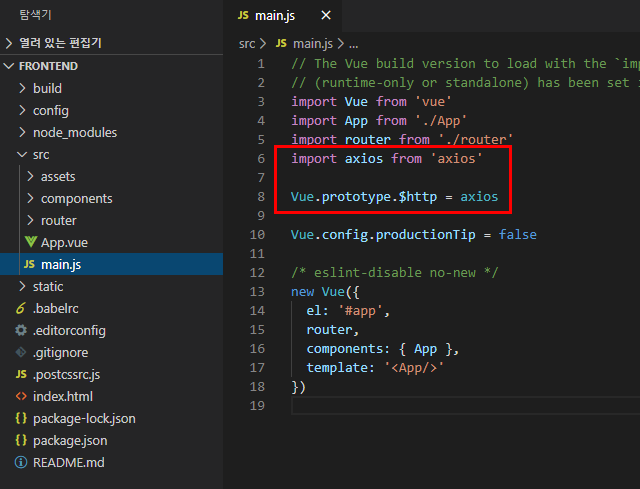
4. src/main.js 파일을 열고 (axios를 전역에서 사용할 수 있도록) 코드를 추가한다.
import axios from 'axios'
Vue.prototype.$http = axios // vue 컴포넌트에서 this.$http로 요청할 수 있게 된다.
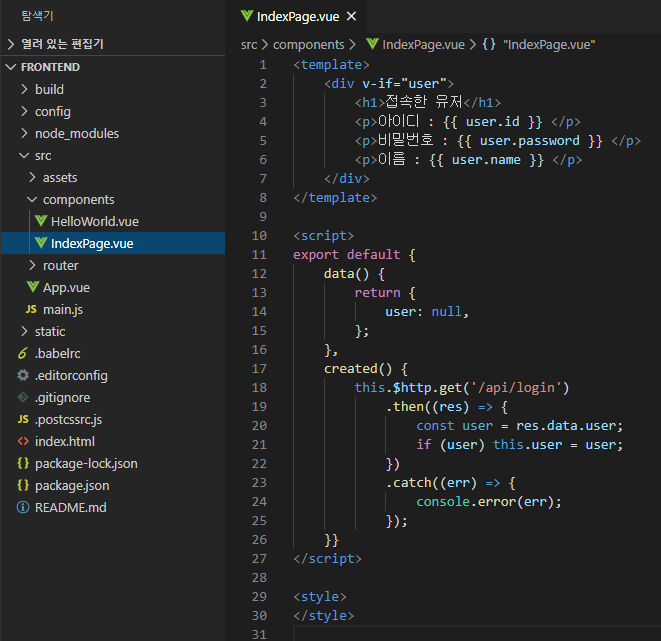
5. components/IndexPage.vue 파일을 만들고, 코드를 작성한다.
<template>
<div v-if="user">
<h1>접속한 유저</h1>
<p>아이디 : {{ user.id }} </p>
<p>비밀번호 : {{ user.password }} </p>
<p>이름 : {{ user.name }} </p>
</div>
</template>
<script>
export default {
data() {
return {
user: null,
};
},
created() {
this.$http.get('/api/login')
.then((res) => {
const user = res.data.user;
if (user) this.user = user;
})
.catch((err) => {
console.error(err);
});
}}
</script>
<style></style>
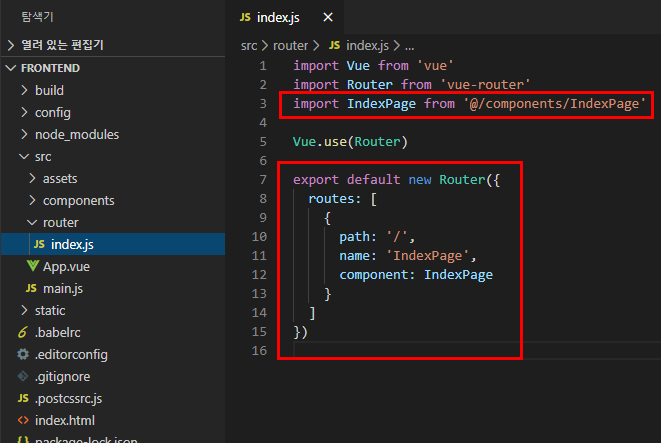
6. router/index.js 파일을 열고 라우터를 설정한다.
import IndexPage from '@/components/IndexPage'
.....
export default new Router({
mode: 'history',
routes: [
{
path: '/',
name: 'IndexPage',
component: IndexPage
}
]
})
7. 터미널에서 빌드하여 프론트엔드 작업을 완료한다.
> npm run build

backend 작업
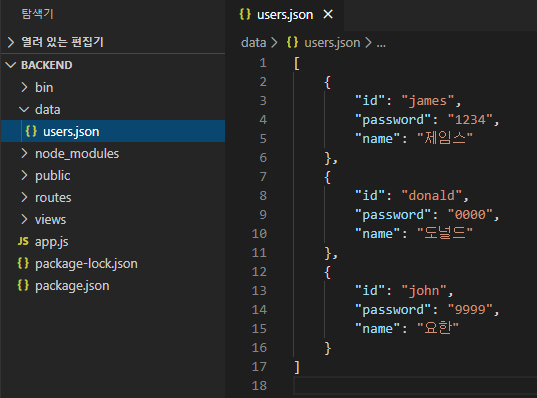
1. backend 프로젝트에 data 폴더와 users.json 파일을 만들고 테스트용 유저 데이터를 입력한다.
[
{
"id": "james",
"password": "1234",
"name": "제임스"
},
{
"id": "donald",
"password": "0000",
"name": "도널드"
},
{
"id": "john",
"password": "9999",
"name": "요한"
}
]
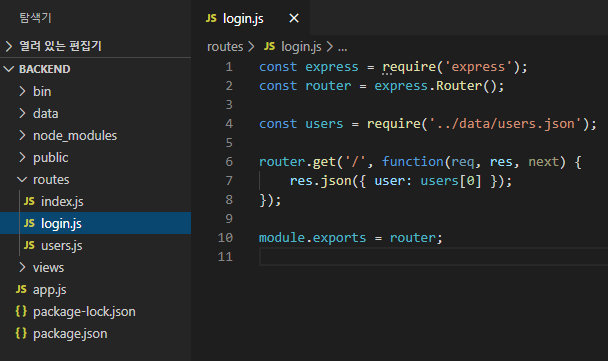
2. routes 폴더에 login.js 파일을 만들고, 코드를 작성한다.
const express = require('express');
const router = express.Router();
const users = require('../data/users.json');
router.get('/', function(req, res, next) {
res.json({ user: users[0] });
});
module.exports = router;
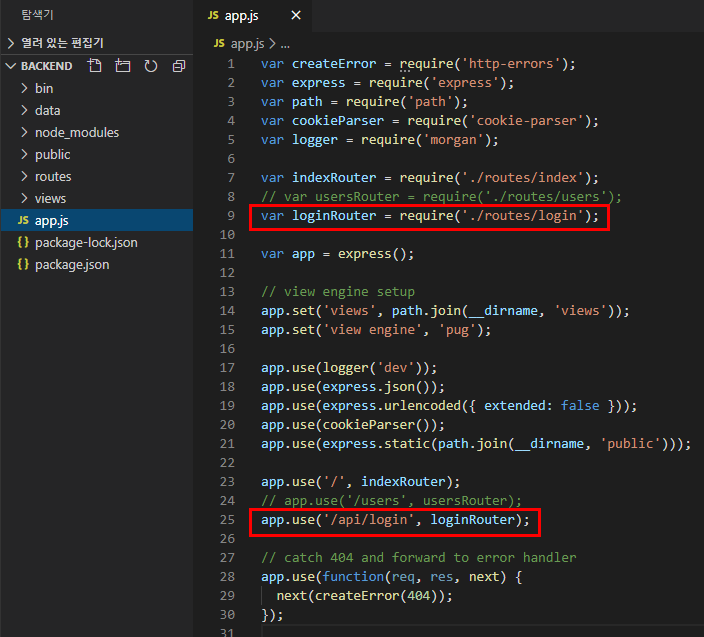
3. app.js 파일을 열어서 login 라우터를 추가한다.
var loginRouter = require('./routes/login');
....
app.use('/api/login', loginRouter);
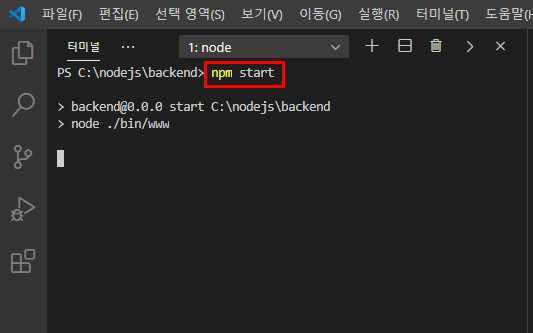
4. 터미널에서 서버를 실행한다.
> npm start
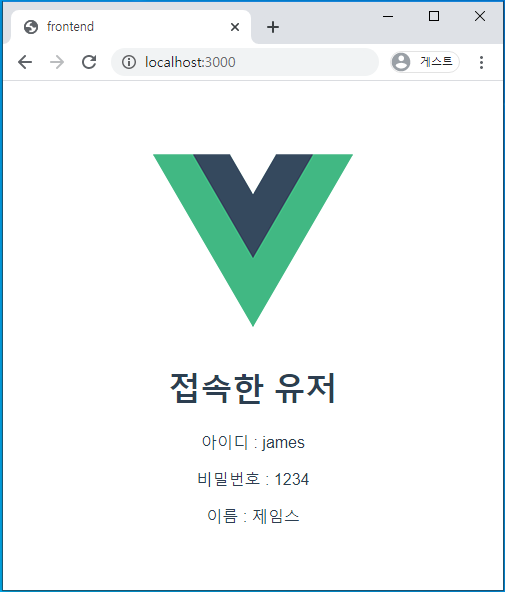
5. 이제 localhost:3000 접속을 하면 프론트엔드(vue)와 백엔드(express)가 작동하는 것을 확인할 수 있다.
frontend 테스트
frontend 테스트를 위해 매번 npm run build 하는 것은 번거로운 일이다.
frontend 작업중일때는 frontend를 npm run dev로 실행하고,
backend는 npm start로 실행한다. (혹은 디버깅 모드(F5)로 실행한다.)
frontend> npm run dev
backend> npm run start (npm start 동일)
그리고 localhost:8080으로 frontend에 접속하여 테스트한다.
(npm run dev 실행 상태에서는 frontend 코드 수정시 수정된 내용이 자동 적용되어 편하다.)
frontend 작업이 완료되면 npm run build를 실행하여 backend 프로젝트에 frontend를 적용한다.
frontend> npm run build
그리고 localhost:3000으로 backend에 접속하여 프로젝트를 최종 확인한다.

